Vevor Aquarium Chiller Troubleshooting Guide: S2TL1500 & S2TL3500
In this guide
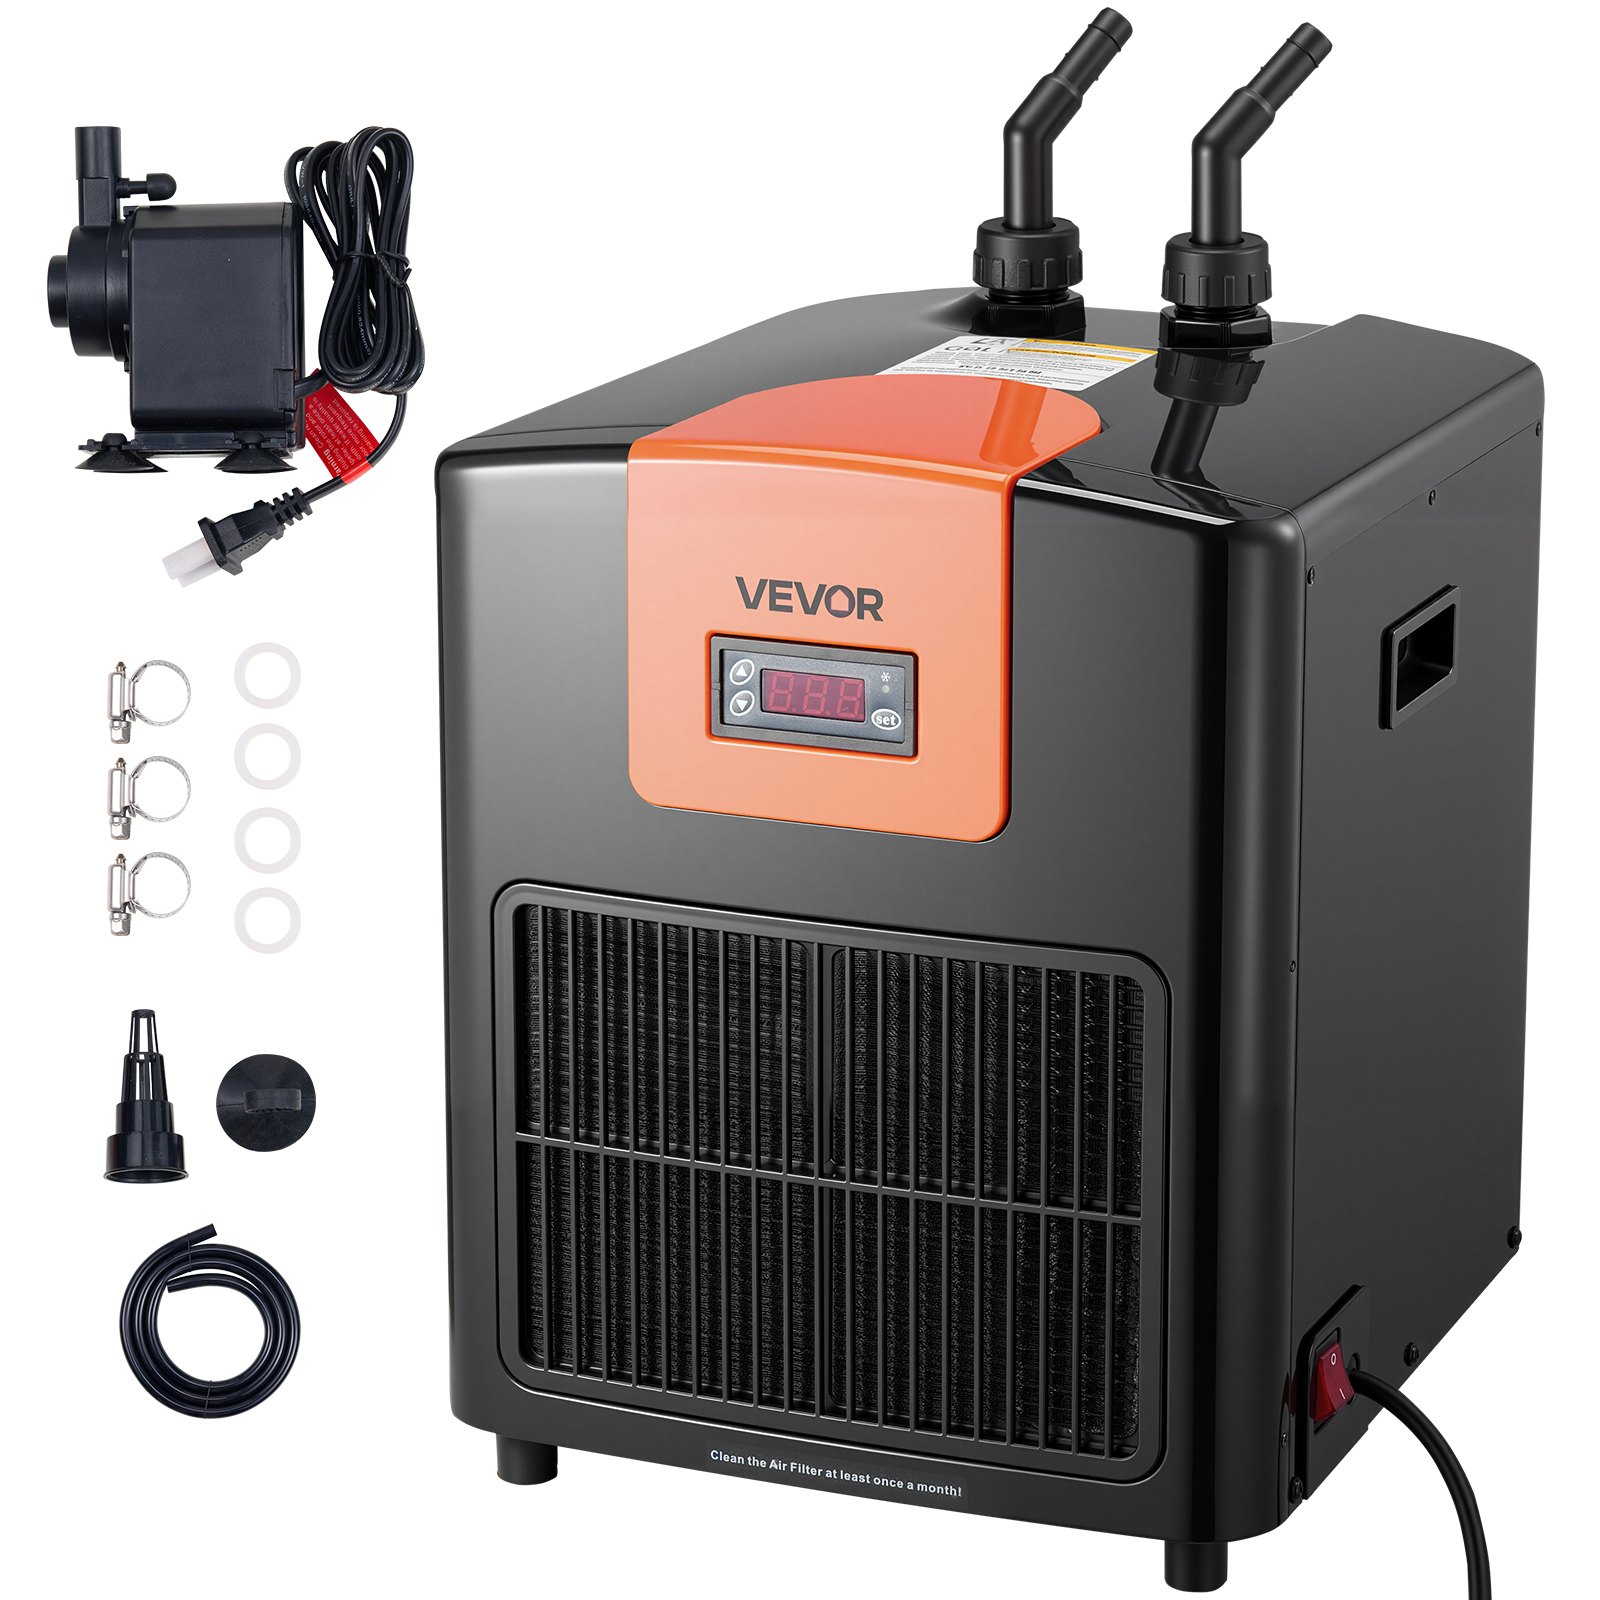
The Vevor S2TL1500 and S2TL3500 are the same compact aquarium chiller family — 0.5 HP and 1.5 HP respectively — used widely for aquariums, hydroponics, cold plunge, and ice bath setups. Most problems users encounter are installation or sizing issues, not hardware failures. This guide works through every common symptom systematically so you can resolve issues without sending the unit for service.
Identify your model
| Model number | Power | Refrigerant | Best for |
|---|---|---|---|
| S2TL1500 | 0.5 HP | R32 | Reservoirs up to 52 gallons in moderate ambient conditions |
| S2TL3500 | 1.5 HP | R32 | Reservoirs up to 150–200 gallons; warm climates; outdoor setups |
Both models use R32 refrigerant — the cold-plunge-capable variant. Both use a pure titanium heat exchanger. Both run on standard 120V / 60Hz US power. The model number is printed on the unit’s nameplate.
Why your chiller isn’t reaching set temperature
This is the most common complaint by far: “I set 40°F but my water is only getting to 55°F.” This is almost never a hardware fault. Vevor’s own documentation includes a real-world performance table that explains exactly why this happens:
| Set temperature (display) | Typical actual result | What this means |
|---|---|---|
| 36°F | ~55°F actual | Water volume is too large or ambient is too high; reduce water volume significantly |
| 47°F | ~63°F actual | Same cause; reduce water volume and improve ventilation |
| 49°F | ~68°F actual | Chiller operating near its thermal limit for the current volume/ambient combination |
| 53°F | ~76°F actual | Mild cooling only; water volume far exceeds the chiller’s capacity at this ambient |
The fix is almost always one or more of these four things:
- Reduce water volume — this is the single most effective change. Less water means the same compressor can reach lower temperatures. If you’re running 100 gallons on a 0.5 HP unit, drop to 50 gallons and you’ll see a dramatic improvement.
- Improve ventilation — the chiller needs 30 cm (12 inches) clearance on the back and sides, and 60 cm (24 inches) at the front air outlet. A chiller in a tight cabinet in a warm room is working against itself. Every degree of ambient temperature rise reduces cooling capacity.
- Insulate the vessel — 2 inches of foam board around the tub or reservoir reduces heat gain significantly, allowing the chiller to hold lower temperatures without running constantly.
- Upsize the chiller — if you genuinely need sub-50°F on a large volume, the S2TL1500 is the wrong tool. The S2TL3500 (1.5 HP) handles significantly larger volumes. See our sizing guide.
Full troubleshooting table
| Symptom | Likely cause | Step-by-step fix |
|---|---|---|
| LCD does not display; machine does not work at all | No power — bad connection, blown fuse, or tripped circuit | 1. Check the power cord is fully seated at both ends. 2. Test the outlet with another device. 3. Check the circuit breaker or fuse at your panel. 4. Confirm outlet is 120V / 60Hz. 5. If the cord appears damaged, do not use the unit. |
| Compressor stops unexpectedly during operation | Thermal shutdown: ambient too hot, ventilation blocked, or high water temperature causing excessive internal pressure | 1. Turn off the chiller immediately. 2. Check all ventilation clearances — 30 cm back/sides, 60 cm front. Remove any obstruction. 3. Check whether ambient room temperature is unusually high. 4. Allow 30 minutes for the unit to cool with power on (fan may continue). 5. Restart and monitor. 6. If it recurs, reduce water volume or contact a technician to check the heat protector and capacitor. |
| Cooling capacity has dramatically reduced after extended use | 1. Condenser fins blocked by dust. 2. Possible refrigerant loss. | 1. Clean condenser fins immediately — vacuum or dry-brush all dust from air inlet and outlet. Do NOT use water on the fins. 2. Verify all clearances are met. 3. Reduce water volume. 4. If cleaning does not restore performance: contact a qualified refrigeration technician to inspect refrigerant (R32). Do not attempt to add refrigerant yourself. |
| Chiller runs continuously but cannot reach set temperature | 1. Water volume too large. 2. Ambient too high. 3. Blocked condenser fins. 4. Poor ventilation. | 1. Reduce water volume — this is the most effective fix. 2. Improve room ventilation or relocate chiller. 3. Clean condenser fins. 4. Verify clearances. See the real-world temperature table above for expected performance at different volumes and conditions. |
| Displayed temperature does not match actual water temperature | Normal sensor variance between display probe and actual water | Calibrate using CA mode. See the calibration section below for exact steps. |
| Water leaking at the connections | 1. Sealing ring not seated inside the nut. 2. Nut not fully tightened. 3. Tubing not fully seated on barbed connector. | 1. Power off and unplug immediately. 2. Drain the water system. 3. Disassemble the leaking connection. 4. Confirm the sealing ring is seated INSIDE the nut — not on the tubing or outside. 5. Reassemble and tighten firmly. 6. Refill and test for leaks before restarting. |
| Water flow is weak or stopped | 1. Kinked tubing. 2. Clogged filter. 3. Pump issue. 4. Pump head exceeds 8-metre (26-foot) maximum. | 1. Inspect all tubing for kinks, bends, or objects pressing on the hose. 2. Check and clean the filter media. 3. Confirm the pump is running. 4. Verify pump head height does not exceed 8 metres / 26 feet. |
| Unusual noise from the compressor area | 1. Unit not level. 2. Loose external components. 3. Compressor issue. | 1. Check the unit is on a flat, level, stable surface. 2. Confirm nothing is resting against the unit. 3. If noise persists beyond normal compressor hum, do not open the unit — contact qualified service. |
| Yellow power light does not illuminate when plugged in | No power reaching the unit | 1. Test the outlet with another device. 2. Check the circuit breaker. 3. Inspect the power cord for visible damage. If damaged, do not use the unit. |
| Green cooling light blinks but compressor never starts | Normal — 3-minute delayed start protection is active | This is by design. The compressor has a 3-minute delayed start after temperature is set. Wait 3 minutes. The green light will turn steady when the compressor activates. This delay protects the compressor from rapid restart after a brief power interruption. |
Temperature calibration — CA mode
If your chiller’s display reads a different temperature to an accurate independent thermometer in the water, the display can be calibrated. The adjustable range is −4 to +4 degrees. Here is the exact procedure from the official manual:
CA mode calibration — step by step
- Press and hold the SET button for 10 seconds until the display shows CA
- Calculate your offset: CA = actual water temperature − displayed water temperature
- Press ▲ or ▽ to adjust the displayed figure to your offset value
- Wait 10 seconds without pressing anything — the display will exit CA mode and show the corrected temperature
Common installation mistakes
Most persistent problems trace back to one of these installation errors:
Inlet and outlet reversed
On the S2TL1500 and S2TL3500, both fittings are on the same side of the unit. Bottom fitting = inlet (water flows IN from the pump). Top fitting = outlet (chilled water flows OUT to the tank). Reversing these connections causes inefficient operation or no cooling at all. Check before connecting — the fittings are labelled on the unit.
Sealing ring installed in the wrong position
The sealing ring (O-ring) must be seated INSIDE the threaded nut before the nut is tightened onto the chiller fitting. If the sealing ring is placed on the tubing, on the barbed connector, or anywhere other than inside the nut, the connection will leak. Disassemble, seat the ring correctly inside the nut, and reassemble.
Incorrect flow order
The water must flow in this exact sequence: Tank → Filter → Pump → Chiller inlet → Chiller outlet → Tank. Running water through the chiller before the filter allows debris to enter and damage the titanium heat exchanger over time.
Inlet and outlet tubes on the same side of the tank
The inlet tube (drawing water from the tank) and the outlet tube (returning chilled water) must be on opposite sides of the tank. If they are positioned close together, the chiller immediately recirculates the water it just cooled without moving warm water through the heat exchanger. Circulation is inefficient and temperatures are inconsistent.
Insufficient ventilation clearance
Minimum clearances: 30 cm (12 inches) on the back and each side, 60 cm (24 inches) at the front air outlet. Installing inside a sealed cabinet without ventilation is the most common cause of thermal shutdown and reduced cooling capacity. The chiller must be able to exhaust warm air freely.
Not waiting after tilting the unit
If the chiller has been tilted or laid on its side during transport or installation, stand it upright and wait 30 minutes before starting. The compressor oil must settle back to the correct position. Starting the compressor before the oil has settled causes immediate compressor damage.
Maintenance schedule
| Task | Frequency | How to do it |
|---|---|---|
| Visual inspection of tubing and connections | Weekly | Check all hose connections for drips or weeping. Confirm no kinks in tubing. Verify pump is running normally. |
| Air inlet/outlet visual check | Weekly | Confirm minimum clearances are maintained. Look for dust accumulation on condenser fins. Nothing should be placed in front of the air outlet. |
| Filter media cleaning | Monthly | Remove and clean filter per the filter manufacturer’s instructions. Rinse the filter housing. |
| Condenser fin cleaning | Monthly (dusty) / Quarterly (clean) | Vacuum or dry-brush dust from all condenser fins. Never use water or liquid on the fins. Bent fins can be straightened with an HVAC fin comb. |
| Titanium heat exchanger flush | Monthly | Detach tubing. Run warm water through the heat exchanger passageways. For scale: circulate diluted citric acid (1 tbsp per litre) for 20–30 minutes, then flush thoroughly with clean water. |
| Temperature accuracy check | Monthly | Compare display temperature to an independent thermometer. If discrepancy exceeds 2°F, calibrate using CA mode (see above). |
| Full annual service | Annually | All above tasks plus: inspect power cord and plug for damage; check all electrical connections for corrosion; confirm all fittings are watertight; test all indicator lights. |
When to call a technician
Do NOT open the unit or attempt to service internal electrical components yourself. This voids the warranty and exposes you to dangerous voltage. Contact Vevor support or a qualified refrigeration technician for any of the following:
- Cooling capacity has declined significantly and cleaning condenser fins plus reducing water volume has not resolved it — refrigerant (R32) may need refilling
- Compressor will not restart after cooling down and clearing ventilation
- Any electrical fault: sparking, burning smell, tripped GFCI, or damaged power cord
- Water leak that cannot be resolved by correctly reassembling the fittings
- Unusual noise that persists after confirming the unit is level and unobstructed
Before contacting support: have your model number (S2TL1500 or S2TL3500), purchase date, and a description of the symptom ready. Complete all troubleshooting steps in this guide first.
FAQs
Why is my Vevor chiller not reaching the set temperature?
Almost always a sizing or ventilation issue, not a hardware fault. Vevor’s own documentation shows that setting 36°F on an oversized water volume typically results in ~55°F actual water temperature. The fix: reduce water volume, improve ventilation clearances around the unit, and insulate the vessel. If you need sub-50°F on large volumes, the S2TL1500 may be undersized — see our sizing guide.
What is CA mode on a Vevor chiller?
CA mode is the temperature calibration function. If your display reads differently to an accurate thermometer in the water, press and hold SET for 10 seconds until “CA” appears. Enter the offset value (actual temp minus displayed temp) using ▲ or ▽, then wait 10 seconds. The display will now show corrected temperatures. The adjustable range is −4 to +4 degrees.
Why does my Vevor chiller wait 3 minutes before cooling?
This is the delayed start protection — it is by design. After you set a temperature, the green cooling light blinks for 3 minutes before the compressor activates. This delay protects the compressor from rapid restart after power interruptions, which can cause immediate compressor damage. Wait 3 minutes; the green light will turn steady when cooling begins.
Which fitting is inlet and which is outlet on the Vevor S2TL models?
Both fittings are on the same side of the unit. Bottom fitting = inlet (water from pump flows in). Top fitting = outlet (chilled water returns to tank). The fittings are labelled on the unit. Reversing them causes inefficient operation.
How do I clean the titanium heat exchanger on my Vevor chiller?
Detach the inlet and outlet tubing. Run warm water through the heat exchanger passageways to dislodge scale and biofilm. For visible scale buildup, circulate a diluted citric acid solution (1 tablespoon per litre of water) through the heat exchanger for 20–30 minutes, then flush thoroughly with clean water before reconnecting. Do this monthly for saltwater or mineral-rich water applications.
Why does my Vevor chiller keep shutting off?
Thermal shutdown — the compressor is overheating. Check ventilation clearances first: 30 cm (12 inches) on back and sides, 60 cm (24 inches) at the front outlet. If the unit is in a warm enclosed space, that is almost certainly the cause. Allow 30 minutes to cool, improve ventilation, and restart. If it continues to shut down with adequate clearances, reduce water volume or contact a technician to check the heat protector and capacitor.
Is the Vevor S2TL1500 / S2TL3500 suitable for cold plunge?
Yes — both models use R32 refrigerant with a 39°F minimum temperature rating. They are the same units marketed as aquarium chillers but widely used for cold plunge and ice bath applications. For cold plunge sizing guidance, see our Vevor cold plunge guide and 1.5 HP review.
Where can I buy a replacement Vevor chiller if mine is beyond repair?
Vevor sells direct through their website. All links below go through our CJ affiliate partnership.
Also own a Baoshishan chiller? See our Baoshishan aquarium chiller troubleshooting guide →