Poafamx Aquarium Chiller Troubleshooting Guide (AL-60, AL-160, AL-300)

In this guide
- Identify your model
- What Poafamx and Baoshishan have in common
- Before first use — critical steps
- Not cooling or not reaching temperature
- Full troubleshooting table
- Display errors
- How to set temperature (F1 mode)
- How to correct temperature display (F2 mode)
- Installation mistakes to avoid
- Maintenance schedule
- When to upgrade
- FAQs
The Poafamx aquarium chiller is sold on Amazon under the store name Poafamx USA and comes in three models covering tanks from 16 to 79 gallons. It is used for aquariums, axolotl tanks, hydroponic reservoirs, and cold plunge setups. The overwhelming majority of problems reported in reviews — not cooling, display showing three dashes, temperature not reaching the set point — are setup or installation issues, not hardware failures.
This guide uses the official Poafamx instruction manual as its source and works through every common symptom with step-by-step fixes. If you need to contact Poafamx support: poafamx@outlook.com (Amazon store: Poafamx USA).
Identify your model
| Model | Tank size | Power | Cooling type | Refrigerant | Pump flow |
|---|---|---|---|---|---|
| AL-60 | Up to 16 gal (60L) — best under 10 gal | 200W | Electronic (Peltier) | None | 320 L/H |
| AL-160 | Up to 42 gal (160L) | 1/10 HP | Compressor | R134a | 600–1500 L/H |
| AL-300 | Up to 79 gal (300L) | 1/3 HP | Compressor | R134a | 600–1500 L/H |
The AL-60 uses electronic (Peltier) cooling, not a compressor. It can only cool water a few degrees below ambient room temperature — typically 68–72°F at best in a 75°F room. It cannot reach cold plunge temperatures and is not suitable for species requiring water below 65°F. If you need colder water, see the upgrade section. Also: the AL-60 temperature probe must be submerged in the water for the unit to operate — without the probe in water the display shows three dashes and no cooling occurs.
What Poafamx and Baoshishan have in common
If you have researched both brands you may have noticed their manuals and specifications are nearly identical. The Poafamx AL-60, AL-160, and AL-300 share the same model designations, same compressor specs, same R134a refrigerant, same temperature setting procedure, and the same troubleshooting table as the Baoshishan models. These are almost certainly the same factory hardware sold under different brand names on Amazon.
This matters for troubleshooting because: any solution that works for a Baoshishan AL-160 will work for a Poafamx AL-160. The button labels, the F1/F2 calibration procedure, the pipe diameter requirements, the pump flow range — all identical. If you find a community fix for either brand, it applies to both.
Before first use — critical steps
- AL-160 and AL-300 only — wait 24 hours. The manual states clearly: let the chiller stand for 24 hours before using after receiving the goods. Shipping jolts the compressor oil out of position. Starting immediately causes compressor damage. This is the most important instruction in the entire manual.
- Complete installation before powering on. Connect all hoses, confirm no leaks with a quick circulation test before turning on the chiller itself.
- AL-60 probe in water before powering on. The probe must be fully submerged in your tank before the unit is switched on.
- 3-minute compressor delay is normal. After you set a target temperature the compressor takes approximately 3 minutes to start. The “cool” indicator appears during active cooling but not in standby mode.
Not cooling or not reaching temperature
This is by far the most common complaint and it almost never indicates a faulty unit. Work through this checklist in order before contacting support:
Step 1 — Check the 3-minute delay
The compressor does not start instantly. Set the temperature and wait a full 3 minutes. The “cool” text only appears on the display when the compressor is actively running — in standby mode it is not shown. If you hear the compressor running and see water circulating but the temperature is not dropping, proceed to Step 2.
Step 2 — Reduce water volume
The rated capacities (42 gal for AL-160, 79 gal for AL-300) are maximum figures tested under ideal conditions — cool ambient temperature, insulated vessel, optimal flow. In a warm room or with an uninsulated tank, real-world effective capacity is significantly lower. Reducing water volume is the single most effective fix for insufficient cooling. Halve the volume and test before trying anything else.
Step 3 — Check ambient temperature and ventilation
The Poafamx is rated to operate in ambient temperatures below 35°C (95°F). Above this the compressor struggles. More importantly, blocked ventilation causes the same problem even at lower ambient temperatures. The unit needs open space around all vents — do not place it inside a sealed cabinet or against a wall that blocks the cooling vent on the back.
Step 4 — Check for kinked or blocked tubing
A single kink in the hose can reduce water flow enough to make the chiller appear non-functional. Trace every inch of tubing from pump to chiller and back. Straighten any bends, and confirm the hose clamps are tight without crushing the tubing.
Step 5 — Insulate the vessel
Heat gain from a warm room, grow lights, or direct sun can exceed the chiller’s cooling output. Wrapping the tank or reservoir with 2-inch foam board reduces heat gain by 30–50% and is often the difference between reaching target temperature or not.
Full troubleshooting table
| Symptom | Likely causes | Fix |
|---|---|---|
| No power, no display | Wrong outlet voltage; loose power cord; tripped breaker | 1. Confirm outlet is 110V AC. 2. Reseat both ends of the power cord firmly. 3. Test the outlet with another device. 4. Check the circuit breaker. 5. Inspect the cord for visible damage — do not use if damaged. |
| Powers on but not cooling after setting temperature | Normal 3-minute startup delay; or water already at/below set temperature | 1. Wait 3 full minutes. 2. Confirm your set temperature is lower than the current water temperature. If water is already at or below the set point, the compressor will not run. 3. Listen for the compressor to activate — it produces a distinct hum. |
| Water does not circulate | Air in pipes; twisted or kinked tubing; pump blocked or stopped; pump adjusted rapidly causing circulation device to stop | 1. Confirm circulation device (pump) is running and confirm it is working properly. 2. Purge air — keep all circuits full of water, especially the pump. 3. Inspect all tubing for kinks. 4. If you recently adjusted the set button rapidly up and down, the circulation device may have stopped — restart the system. |
| Poor cooling output — running but barely cooling | Ambient too high; closed cabinet; tank volume too large; kinked pipes; pump head too high | 1. Reduce tank volume — most effective fix. 2. Keep ambient below 35°C / 95°F. 3. Move the chiller off a desk or closed surface to ensure free air circulation. 4. Check and straighten all tubing. 5. Confirm pump head height is within its rated capacity. 6. Insulate the vessel. |
| Water leaking at connections | Flat gasket sealing ring incorrectly placed; pipe too thick for fitting; nut not tight | 1. Power off and unplug immediately. 2. Drain the system. 3. Disassemble the leaking connection. 4. Confirm the flat gasket sealing ring is seated inside the nut at the correct position as shown in the manual diagram. 5. If the pipe is slightly too thick, add vacuum grease to the connection before reassembling. 6. Retighten firmly. 7. If leakage continues, contact Poafamx at poafamx@outlook.com. |
| Wet floor or condensation around the unit | Normal condensation from chilled pipes and tank surface in humid air | Wipe droplets from tank walls and pipe surfaces. This is normal — chilled water pipes sweat condensation like a cold drink glass. Use pipe insulation sleeve wrap on the outlet tubing if condensation is excessive and causing pooling. |
| Abnormal noise from the unit | Air trapped in pipes; unit not level; unit tilted | 1. Ensure all circuits are fully water-filled with no air pockets. 2. Confirm the unit is on a flat, level surface. 3. Do NOT tilt the unit while operating. If it was tilted, stand upright and wait before restarting. 4. Grinding or rattling from inside the compressor area — contact Poafamx support. |
| Display shows three dashes (---) | Temperature probe abnormal — not in water (AL-60), disconnected, or faulty | 1. AL-60: Confirm the probe is fully submerged in the water. This is mandatory for the AL-60 to operate. 2. AL-160/AL-300: Check the probe connection at the unit. 3. If the probe is physically damaged, contact Poafamx for a replacement. |
| Display temperature differs significantly from actual water temperature | Probe calibration drift; or probe needs replacing | A small variance of 1–2°F is normal. A larger difference can be corrected using the F2 temperature correction function. See the calibration section below. If the difference is very large (5°F+) and calibration does not help, the probe may need replacing. |
Display errors at a glance
| Display | Meaning | Action |
|---|---|---|
| --- (three dashes) | Probe not detected or faulty | AL-60: submerge probe. AL-160/300: check connection. Replace probe if damaged. |
| "cool" visible | Normal — compressor is actively cooling | No action needed. |
| Temperature reading, no "cool" | Standby mode — water is at or below set point | Normal. Compressor cycles off when target is reached. |
How to set temperature — shutdown and start temperature
A. Setting the shutdown temperature (when cooling stops)
- Press the SET button for 1 second until the temperature display flashes
- Press ▲ or ▼ to set your target temperature (the temperature at which cooling stops)
- Press RST or wait 10 seconds — the display returns to showing current water temperature
B. Setting the start temperature (when cooling begins — F1 mode)
The F1 setting controls the temperature differential — how many degrees above the shutdown temperature the water must reach before cooling restarts. This prevents the compressor from cycling on and off constantly.
- Press and hold the SET key for 8 seconds until F1 appears on the display
- Press SET again to enter the F1 value
- Press ▲ or ▼ to set the differential value (e.g. 10)
- Press RST or wait for the display to exit automatically
How to correct temperature display — F2 calibration
If your display temperature does not match an accurate thermometer placed in the water, use the F2 correction function:
- Press and hold SET for 8 seconds until F1 appears
- Press ▲ to advance to F2
- Calculate your offset: actual water temp − displayed temp = offset
- Press SET, then use ▲ or ▼ to enter the offset value
- Press RST or wait for timeout to confirm
Example B: Thermometer reads 83°F, display shows 85°F → offset = −2 → enter F2 and press ▼ to −2.
Installation mistakes to avoid
Not waiting 24 hours before first start (AL-160 and AL-300)
Repeated again because it is the most consequential mistake. The compressor oil needs to settle after shipping. Starting immediately risks immediate compressor failure that is not covered under warranty.
AL-60 probe not submerged
The probe must be in the water before the AL-60 is powered on. Without it, the display shows three dashes and nothing works. This causes the majority of “broken out of the box” reviews for the AL-60.
Connecting inlet and outlet to the same side of the tank
Water drawn from the tank, chilled, and returned to the same spot just chills the same water repeatedly without cooling the overall tank. The pump intake and the chiller return outlet must be on opposite sides of the tank to ensure full circulation.
Wrong pipe diameter
The AL-160 and AL-300 require 12mm inner diameter pipe. The AL-60 requires 8mm inner diameter. Using a pipe that is too thick is the cause of most water leakage issues — if you cannot get a good seal, add vacuum grease to the connection and confirm you are using the correct diameter.
Blocking the cooling vent
The manual specifies: do not place the chiller in positions of high temperature, no ventilation, direct sunlight, large lampblack, or moisture. Do not block air vents or put objects near them. The vent on the back of the AL-160 and AL-300 exhaust warm air — blocking it causes the compressor to overheat and reduces cooling efficiency significantly.
Tilting or inverting the unit while in use
Never tilt the AL-160 or AL-300 while operating or while water is connected. If the unit was tilted during setup or transport, stand it upright and wait before powering on.
Maintenance schedule
| Task | Frequency | How |
|---|---|---|
| Clean cooling vent / air filter | Monthly minimum | Use a dry brush or vacuum to clear dust from the cooling vent. Do not use water on the vent or internal components. A blocked vent is the most common cause of progressive cooling loss over time. |
| Flush water-contact surfaces | Every 2–3 months | Power off and unplug. Run clean water through the heat exchanger and all connected tubing. For mineral deposits or biofilm: circulate a 2-parts distilled vinegar to 3-parts water solution for 20–30 minutes using a separate bucket and the included pump, then flush thoroughly with clean water before reconnecting to the tank. |
| Inspect hose connections | Monthly | Check all fittings for drips. Retighten loose hose clamps. Replace tubing showing cracking or stiffness at the connection points. |
| Check temperature accuracy | Monthly | Compare display reading to an independent thermometer in the water. If the difference exceeds 2°F, use F2 calibration to correct it. |
| Exterior cleaning | Monthly | Wipe with a clean soft damp cloth. Do not use corrosive liquids, detergent, gasoline, or hard brushes. Do not use a wet cloth on the control panel, plug, or power cord. |
When to upgrade
Consider replacing your Poafamx if any of the following apply:
- You need water below 60°F consistently — the AL-160 and AL-300 use R134a refrigerant which has a higher minimum temperature than R32-based chillers. For cold plunge or axolotl tanks requiring 55–60°F, the Vevor compact series reaches 39°F with R32 refrigerant and performs more reliably at these targets
- The AL-60 isn’t cold enough — Peltier cooling cannot reach aquarium-cold or cold-plunge temperatures. A compressor-based chiller is required for any serious cooling below ~65°F
- Compressor failure after warranty — repair cost typically approaches or exceeds replacement cost
- Volume has outgrown the unit — if you’ve added tanks or expanded your reservoir, step up to the next capacity tier
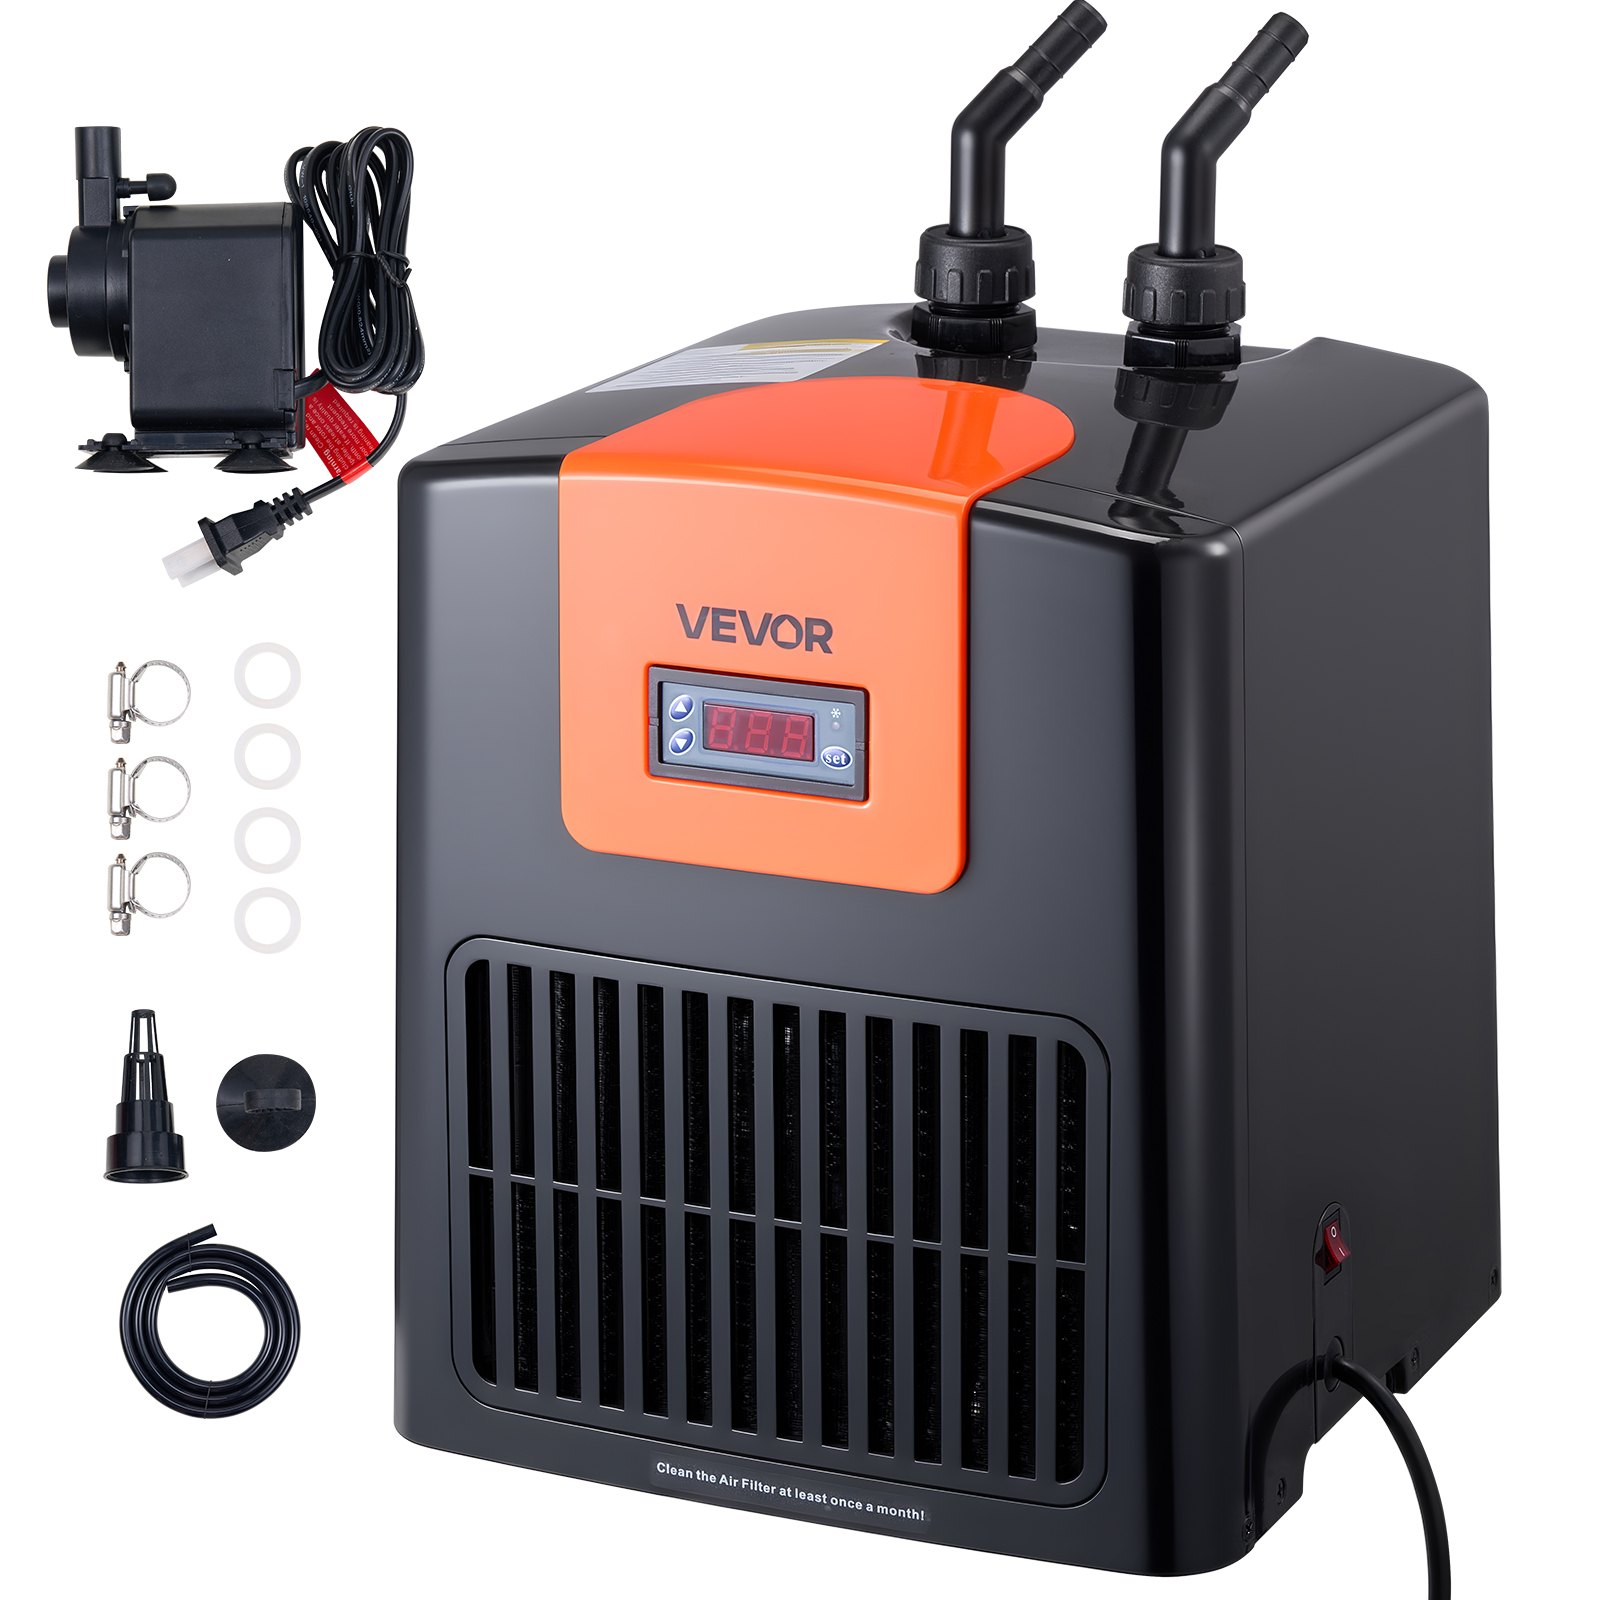
R32 compressor refrigerant. Reaches 39°F. Handles up to 52 gallons. Quiet, compact, pump included. Significantly colder minimum than the Poafamx AL-160.
View on Vevor — $283.90 →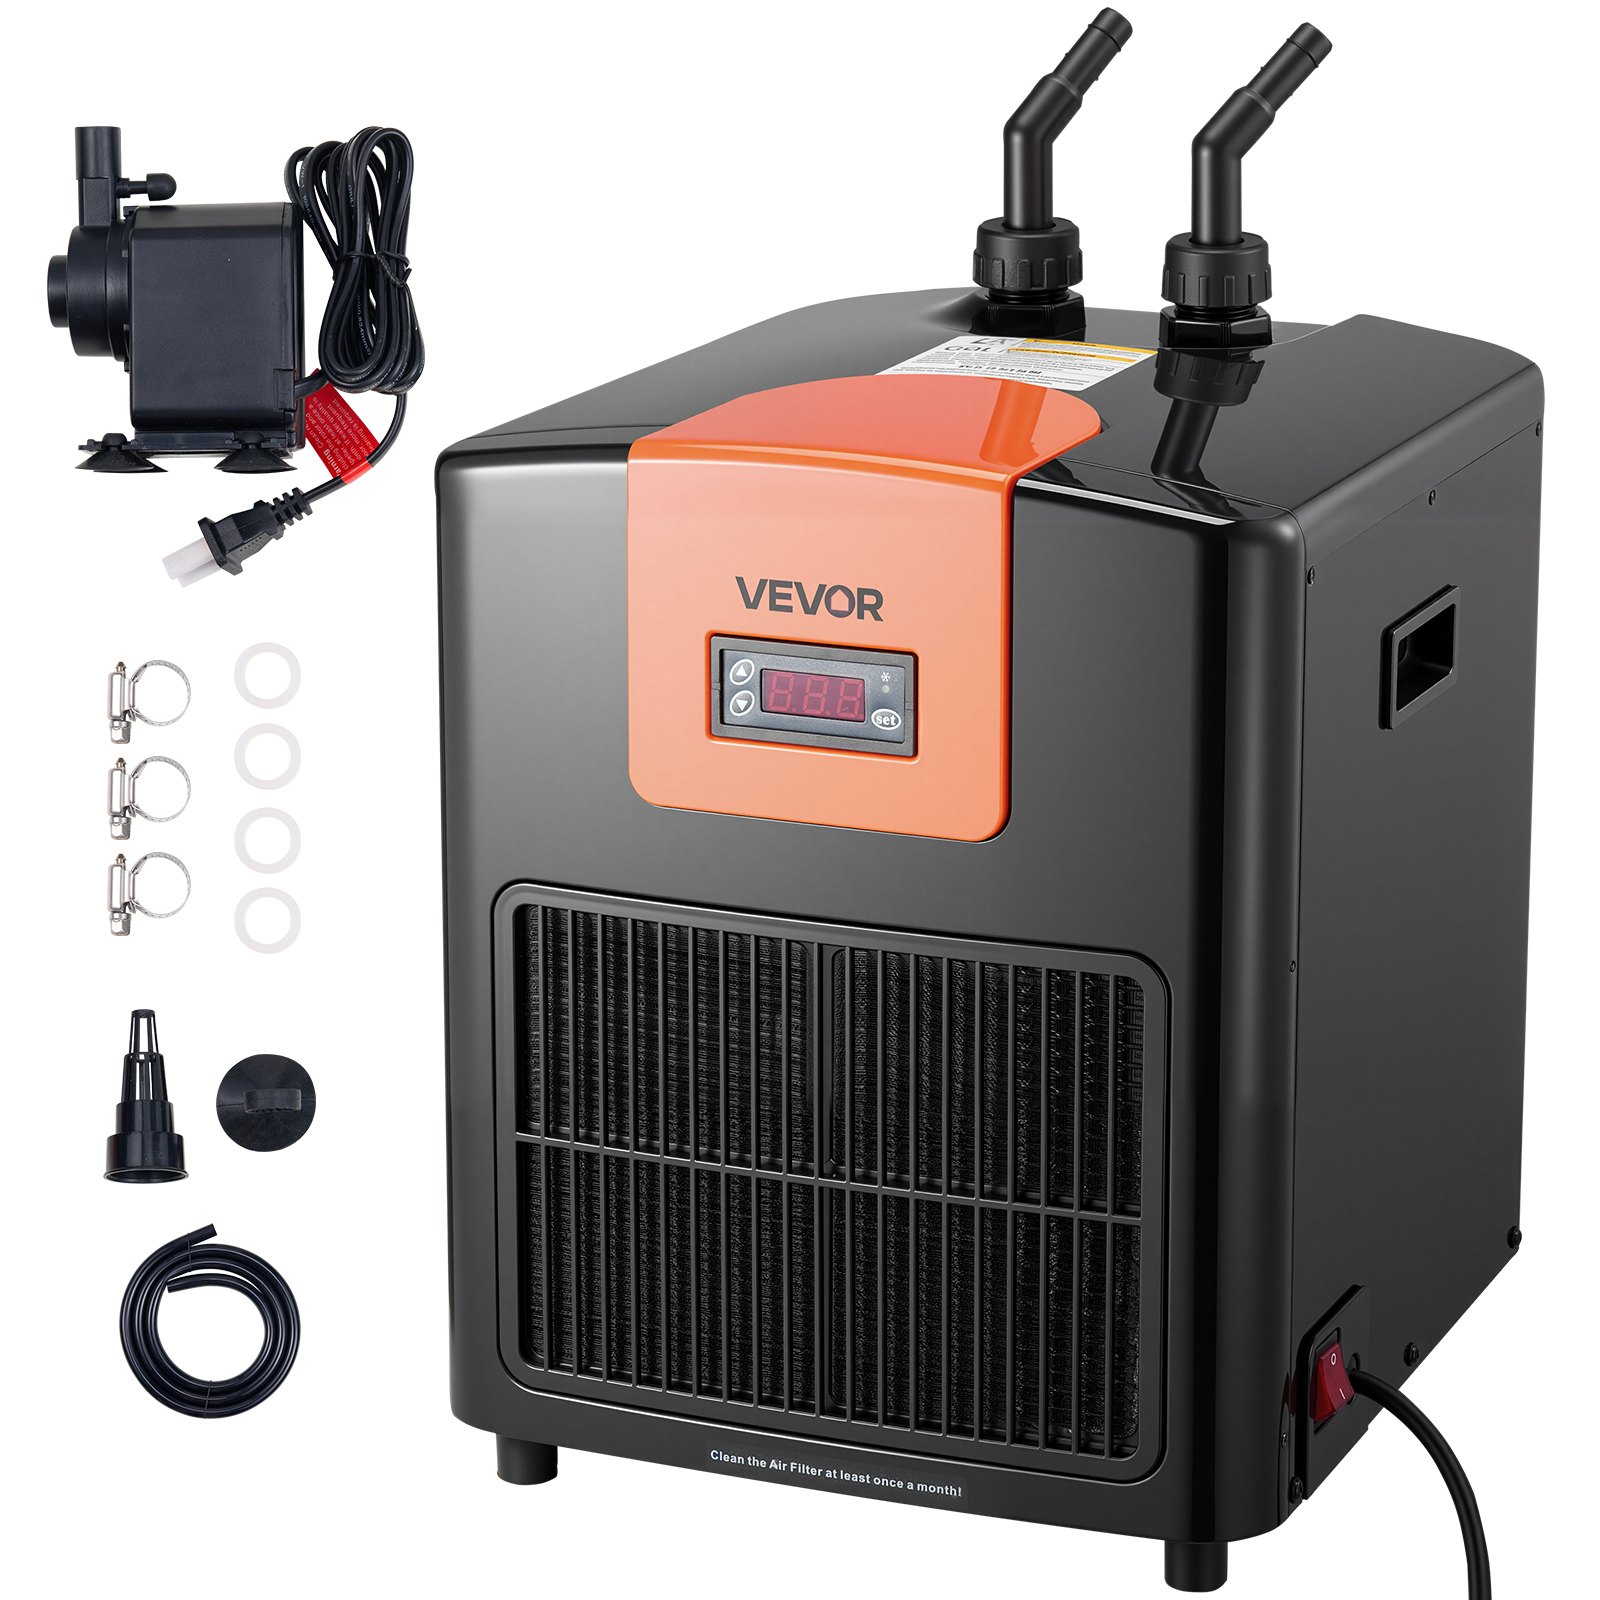
R32 compressor refrigerant. Reaches 39°F. Handles up to 110 gallons. Better minimum temperature and more cooling headroom than the Poafamx AL-300 at a comparable price.
View on Vevor — $389.90 →FAQs
Why is my Poafamx chiller not reaching the set temperature?
Almost always one of four issues: water volume too large, ambient temperature too high, ventilation blocked, or tubing kinked. The 3-minute startup delay is also frequently mistaken for a fault. Reduce the water volume first — it is the most effective single fix. See the full checklist in the “not cooling” section above.
What does --- mean on the Poafamx display?
Three dashes mean the temperature probe is not being detected. On the AL-60, confirm the probe is fully submerged in the water — this is essential for the unit to operate. On the AL-160 and AL-300, check the probe connection at the unit. If the probe appears physically damaged, contact Poafamx at poafamx@outlook.com.
How do I set the temperature on the Poafamx chiller?
Press SET for 1 second, use ▲/▼ to set your target shutdown temperature, then press RST or wait 10 seconds. To set the start temperature differential (F1 mode), hold SET for 8 seconds until F1 appears, press SET again, then set the differential value. A worked example is in the temperature setting section above.
Is the Poafamx the same as the Baoshishan chiller?
They share the same model designations (AL-60, AL-160, AL-300), identical specifications, the same temperature setting procedure, and nearly word-for-word identical manuals. They are almost certainly the same factory hardware. Any troubleshooting fix that works for one works for the other. See our Baoshishan troubleshooting guide for additional context.
Can the Poafamx AL-160 or AL-300 be used for cold plunge or axolotl tanks?
The AL-160 and AL-300 use R134a refrigerant which has a higher minimum temperature ceiling than R32-based chillers. For aquarium use keeping tropical species at 74–80°F they work well. For axolotl tanks targeting 60–68°F or cold plunge use at 50–59°F, the Vevor compact series using R32 refrigerant is the better choice. See our axolotl chiller guide and cold plunge chiller guide.
How do I contact Poafamx for warranty support?
The US Amazon store operates as Poafamx USA. Contact via Amazon messaging or directly at poafamx@outlook.com. Have your model (AL-60, AL-160, or AL-300) and order number ready. Work through the troubleshooting steps in this guide before contacting support — the most common issues are installation-related and can be resolved without returning the unit.
Why does my Poafamx chiller make noise?
A slight internal shake from the compressor is normal and noted in the manual. Abnormal noise — gurgling, rattling, or grinding — usually indicates air in the water pipes (purge by keeping all circuits water-filled) or the unit is not on a level surface. Place on a flat, stable surface and ensure no tubing is pressing against the housing. Persistent internal mechanical noise that does not resolve should be reported to Poafamx support.